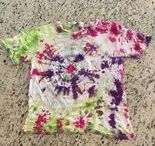
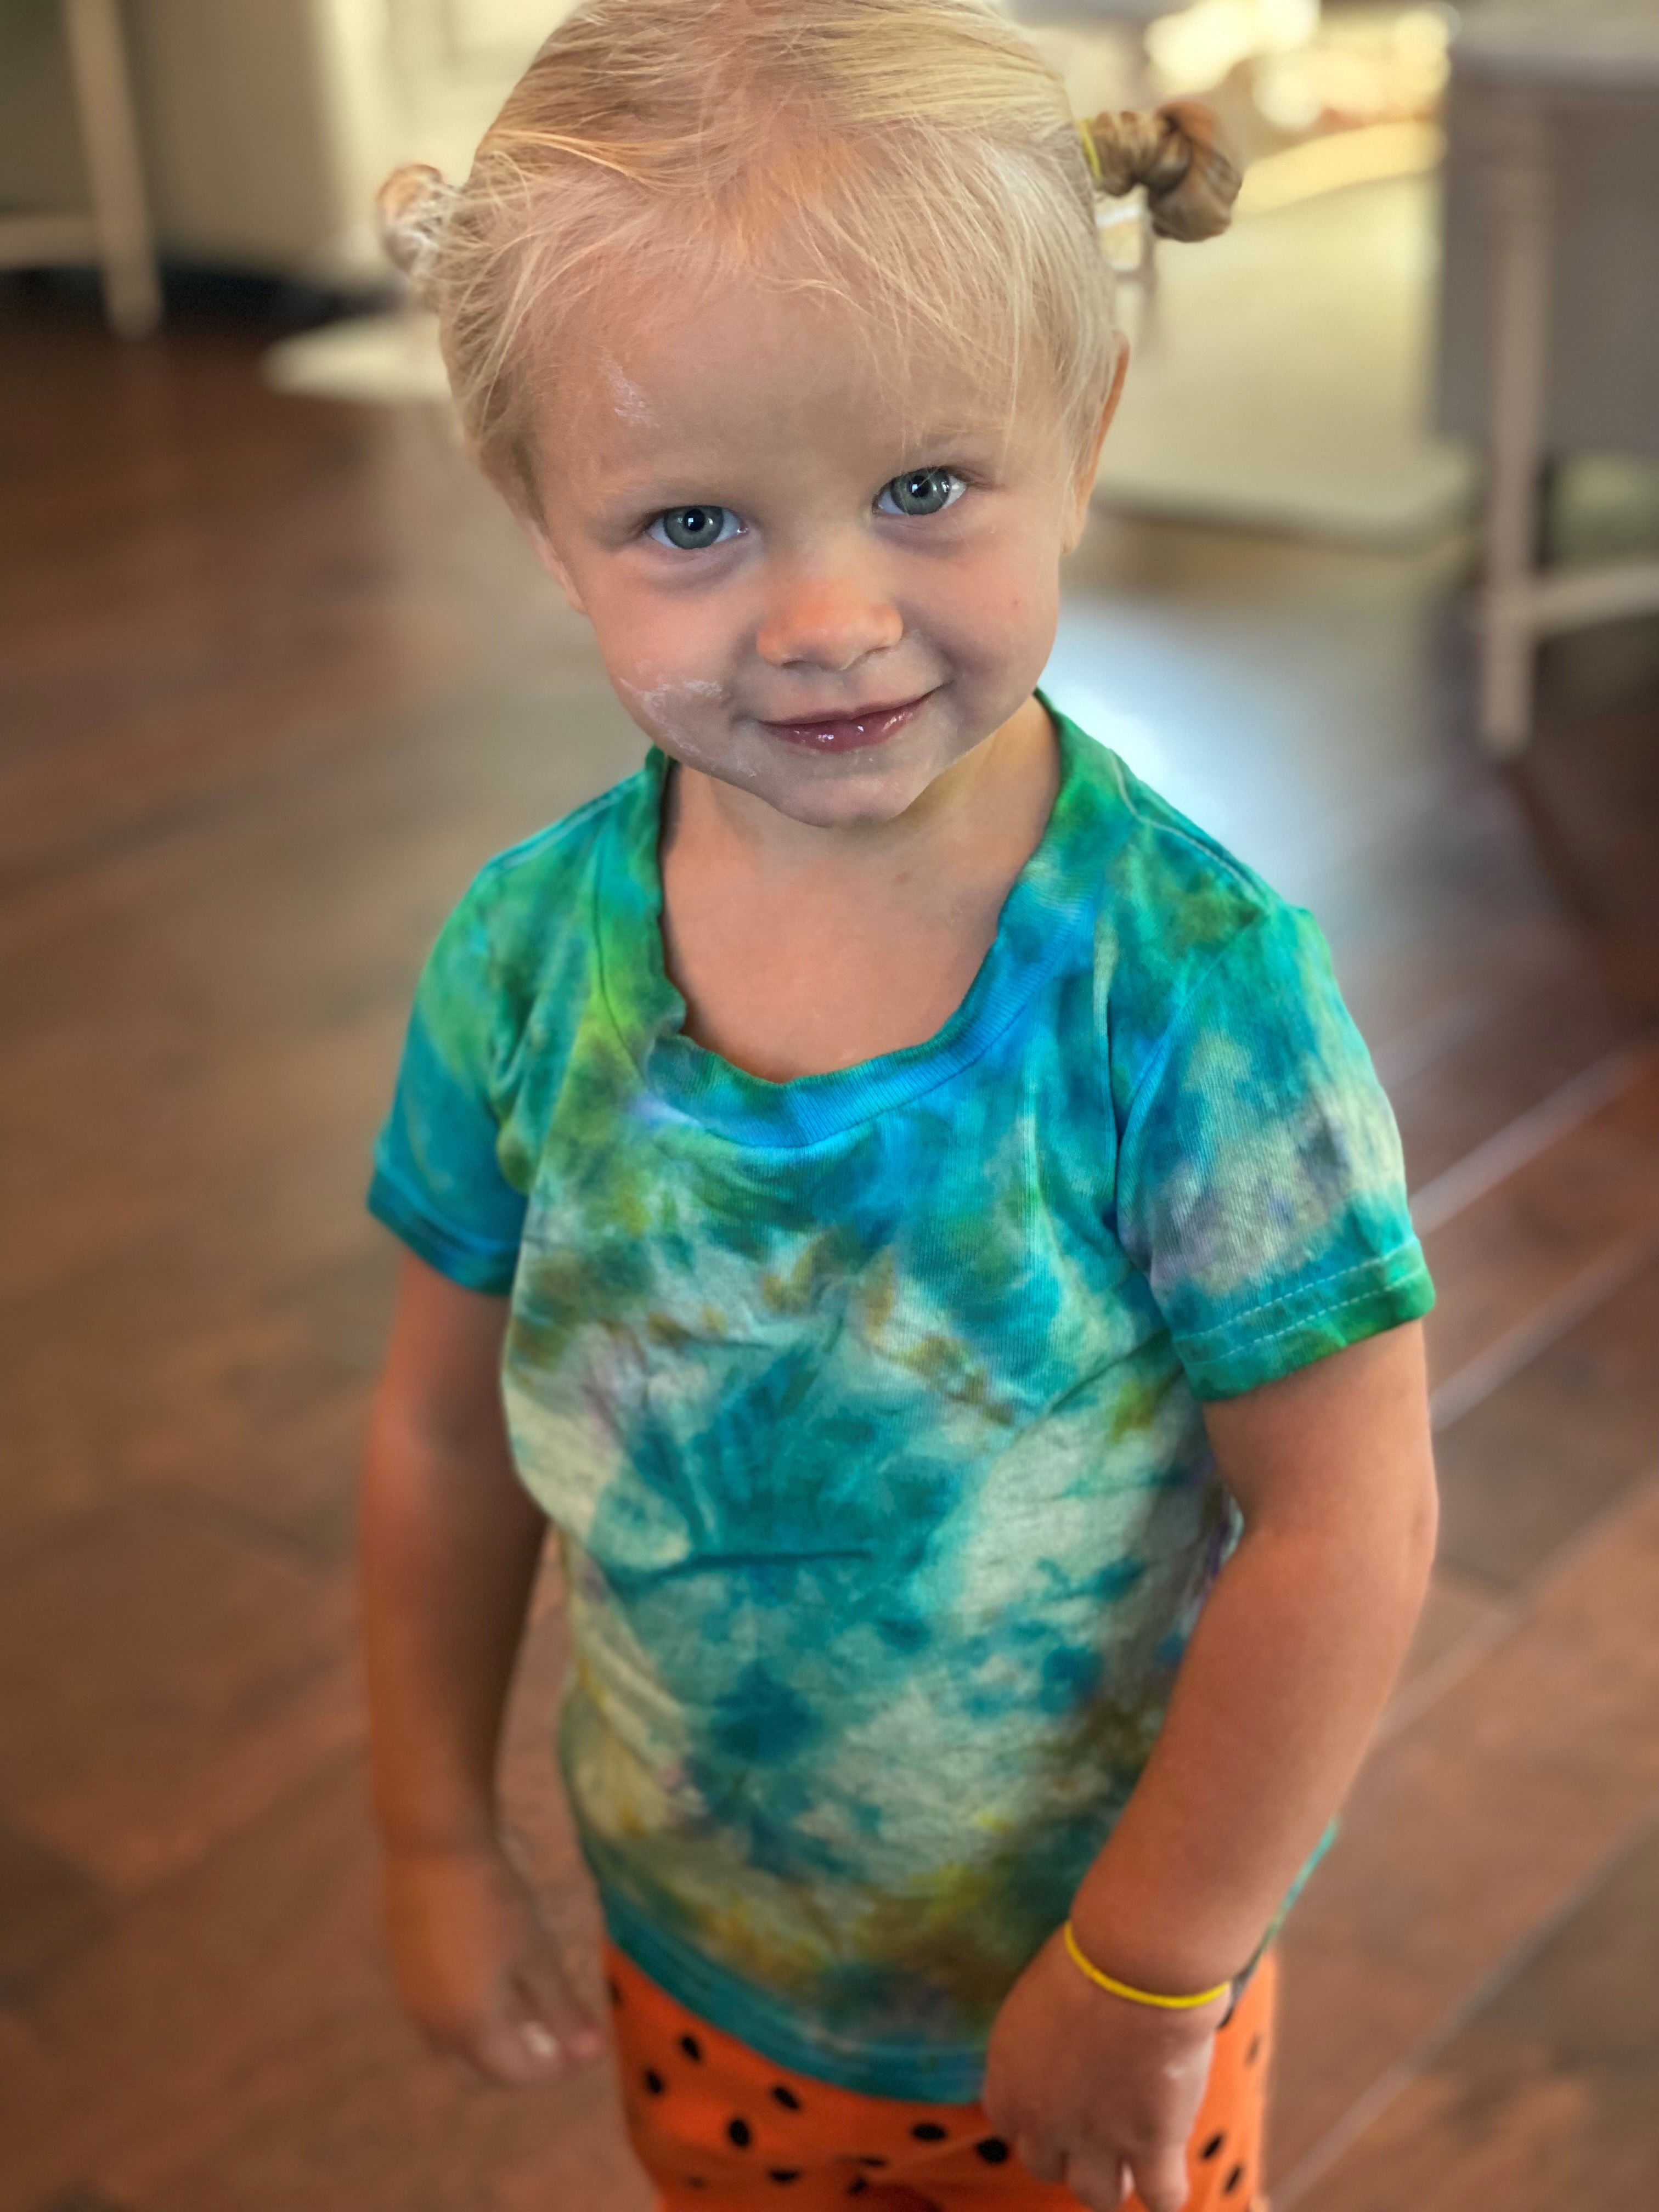
My grandchildren love to tie dye shirts
Tie Dye simply is a technique of folding or scrunching cotton fabric and securing it with rubber bands or string, then applying dye. It’s easy and lots of fun albeit a bit messy. Most people I know limit tie dye activities to the summertime. No worries, I found a system that reduces the mess and works for when the weather keeps you inside.
I introduced my grandchildren to the artistry of tie dye this summer when my granddaughter and I did this fun activity while on vacation. The boys expressed their creativity this past week.
Let’s have fun!
Step One
Select a 100% cotton t-shirt, sweatshirt, bandana, socks or more. Keep in mind 100% cotton will shrink.
Step Two
Buy your tie dye kit. I bought a kit with 18 colors made by Tulip that came in a plastic reusable container. The colors are vibrant and the process is quite simple.
Step Three
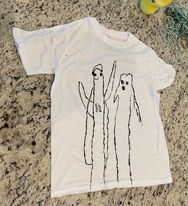
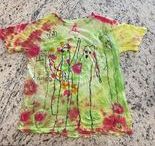
My grandson likes to draw designs on his shirts before applying the dye. He uses a thick black Sharpie. Some people embroider designs into their garments. This step is not necessary, but it adds an extra creative flair.
Step Four
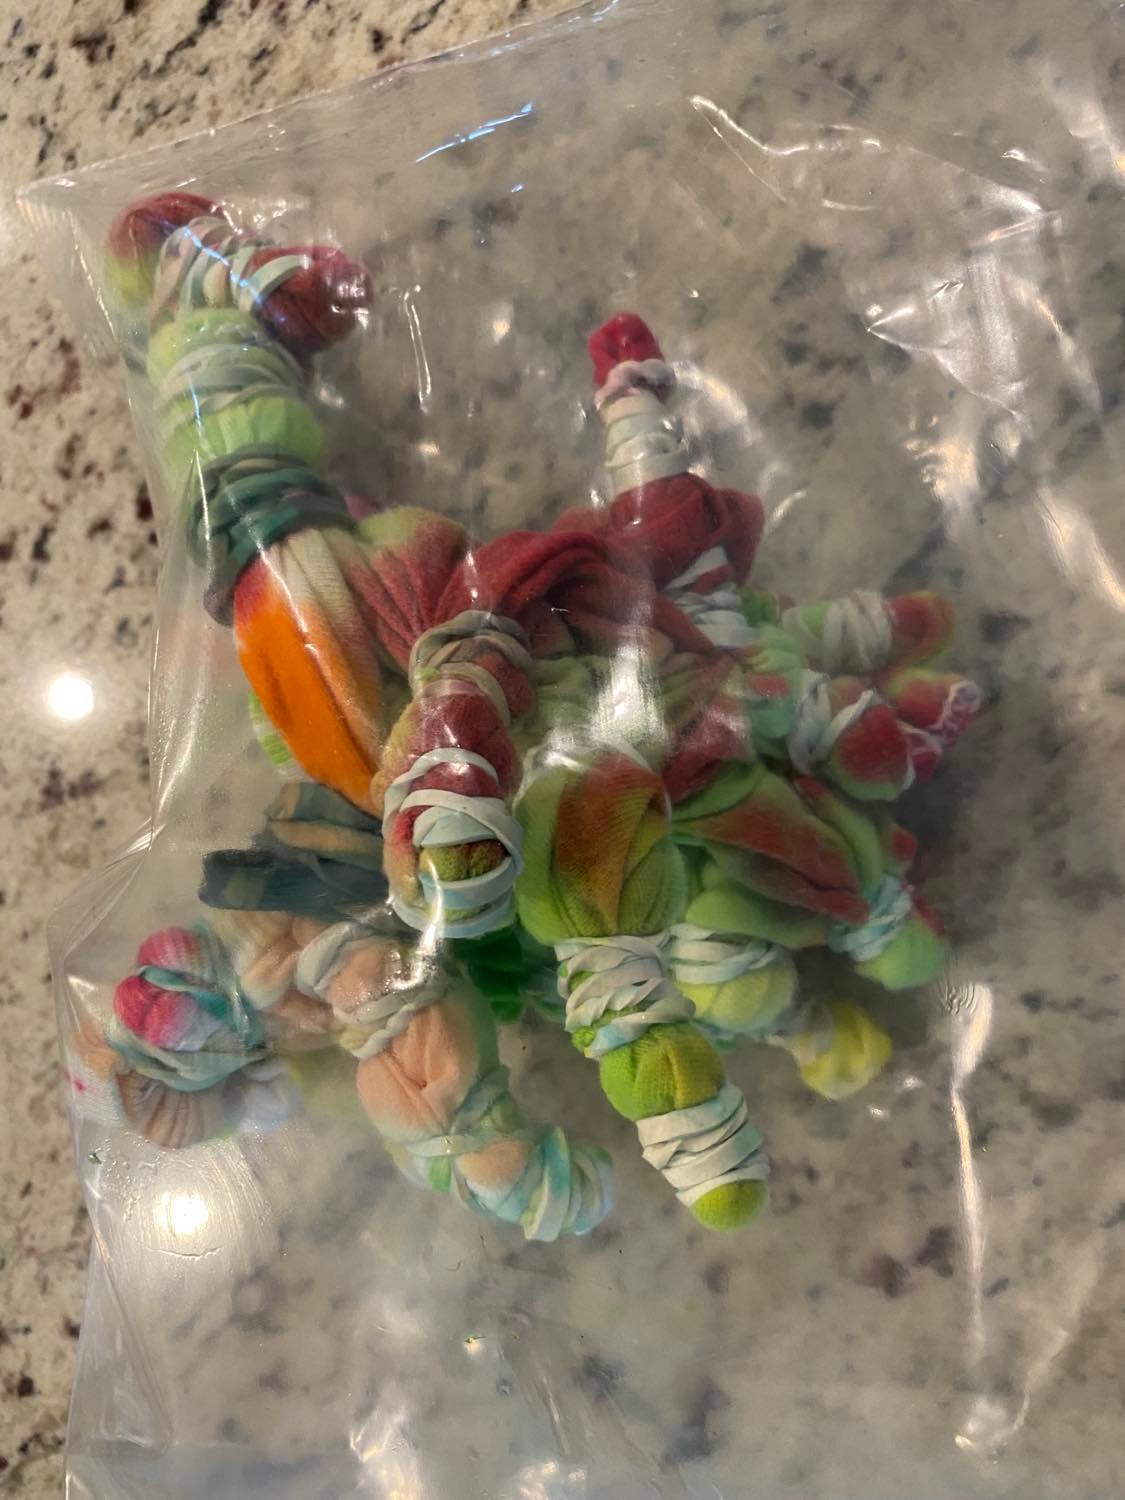
Scrunch and fold your garment, then secure it with rubber bands or string. I discovered thicker ponytail ties actually are easier to use and reuse! Visit my Pinterest account to see folding tips: https://www.pinterest.com/adventureswithgrammy/tie-dye/
Step Five
Cover your surface with a disposable table cloth or trash bags. Place a paper towel on the plastic directly under the banded t-shirt. It will help absorb extra dye. Keep a roll of paper towels nearby!
Step Six
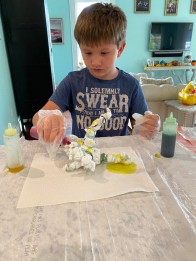
Put on plastic gloves, which will be included with your kit. Mix your dye according to the directions. If you use the Tulip brand, all you do is add the designated amount of water and shake.
Step Seven
Apply the dye. You can squeeze the dye directly onto the t-shirt, or you can dap the tip onto the cloth. You also can use a paint brush or sponge. Keep in mind the folds and bands will prevent the dye from saturating the fabric, so those places will stay white unless you dap the bottle tip between the folds. Colors placed close together will bleed into each other. Sometimes they will form pleasant colors, and sometimes they will look muddy.
Step Eight
Let the dye set. Place the garment into a plastic food storage bag and seal it closed, or wrap it in plastic wrap. Place the bag in a warm area for at least 8 hours. The longer you let the dye set, the more vibrant the colors will be.
Step Nine
With the bands in place, rinse your garment in cold running water until the water runs clear. Remove the bands. Some people cut the rubber bands. I like to reuse them, so I will pull them off. I discovered the thick pony tail bands are easier to remove and reuse.
Step Ten
Dry on t-shirts thoroughly. When I was a kid, this meant hanging them on the close line on a hot summer day to heat set the colors. If the weather doesn’t permit you to do that now, throw them in a hot clothes dryer until thoroughly dry. You also can iron them or use a heat press to set the colors. I recommend washing each garment individually before wearing and repeating the drying process. I also recommend washing each garment individually for at least one or two more washings to ensure the dye does not run and ruin other clothing.
